
Uncategorized
Best Livestock for Beginners: How to Hatch Emu Eggs Successfully (Step-by-Step Guide)
Mar
Hatching emu eggs can be a rewarding experience for beginners interested in exotic poultry farming. However, unlike chicken eggs, emu eggs require precise care, patience, and attention to detail. If you’re searching for “how to hatch emu eggs,” “emu egg incubation guide,” or “fertile emu eggs for hatching,” this step-by-step guide will help you achieve successful results.
Understanding Emu Egg Incubation
Before starting, it’s important to know that emu eggs have a much longer incubation period than typical poultry. Emu eggs usually take 48 to 56 days to hatch, making consistency in care essential.
Because of their thick shells and large size, emu eggs require controlled temperature, low humidity, and proper ventilation throughout the process.
Step 1: Choose High-Quality Fertile Emu Eggs
Success starts with selecting the right eggs. Not all eggs will hatch, so quality matters.
What to look for:
- Clean, undamaged shells
- Normal shape (not too large or misshapen)
- Eggs from healthy breeding stock
Avoid cracked or dirty eggs, as they can reduce hatch rates and spread bacteria.
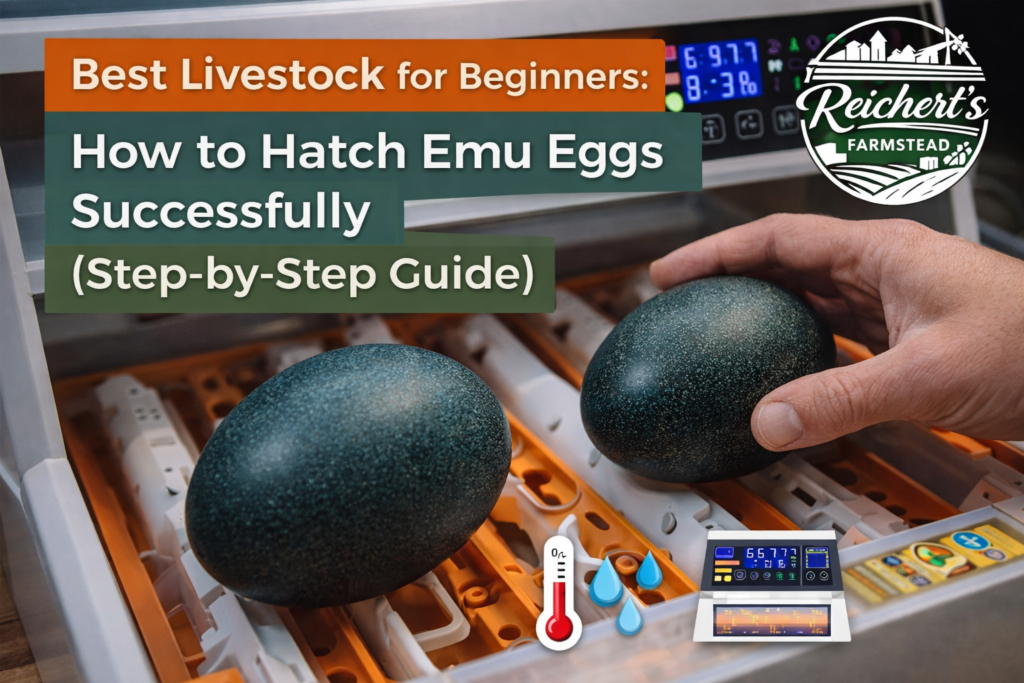
Step 2: Prepare the Incubator Properly
Setting up your incubator correctly is one of the most important steps in emu egg incubation.
Ideal conditions:
- Temperature: 97–99°F (36–37°C)
- Humidity: 25%–35% during early incubation
- Good airflow and ventilation
Maintaining stable conditions is critical—small fluctuations can negatively affect embryo development.
👉 Tip: Always preheat your incubator before placing the eggs inside.
Step 3: Maintain Proper Temperature and Humidity
Temperature and humidity are the two most important factors when learning how to incubate emu eggs successfully.
- Keep temperature steady between 36.5°C and 37°C
- Maintain low humidity (around 25%–30%) for most of the incubation period
- Increase humidity to about 70% in the final week before hatching
Proper humidity helps control moisture loss and ensures the chick develops correctly inside the egg.
Step 4: Turn the Eggs Regularly
Turning emu eggs is essential to prevent the embryo from sticking to the shell.
- Turn eggs 3 to 5 times daily
- Rotate them evenly (ideally 180°)
- Mark eggs lightly with a pencil to track turning
Stop turning the eggs about 3 days before hatching to allow the chick to position itself properly.
Step 5: Monitor Egg Development
Unlike chicken eggs, emu eggs are difficult to candle due to their thick shells. However, you can still monitor progress.
Signs of development:
- Slight movement inside the egg (later stages)
- Changes in weight (healthy eggs lose 10–20% weight during incubation)
- No foul smell or leakage
Remove any bad eggs immediately, as they can contaminate others.
Step 6: Adjust Conditions Before Hatching (Lockdown Stage)
The final stage of incubation is often called the “lockdown” phase.
- Stop turning the eggs
- Increase humidity levels
- Avoid opening the incubator frequently
During this stage, the chick prepares to hatch and absorbs nutrients from the yolk. Stable conditions are crucial for success.
Step 7: Hatching Process and What to Expect
Hatching emu eggs takes patience. Once the chick begins to break the shell (called “pipping”), the process can take 24 hours or more.
- The chick may take time to fully emerge
- Avoid helping the chick out of the shell
- Let the process happen naturally
Interfering too early can harm the chick and reduce survival chances.
Common Mistakes to Avoid
Many beginners struggle because of a few common emu egg hatching mistakes:
- Incorrect temperature or humidity
- Inconsistent turning
- Poor ventilation
- Opening the incubator too often
- Using low-quality eggs
Even small mistakes can affect hatch success due to the long incubation period.
Why Hatch Emu Eggs?
Raising emus is becoming increasingly popular due to their versatility and value. Farmers often search for “emu eggs for sale,” “emu farming for beginners,” and “how to raise emu chicks” because emus provide:
- Meat and oil production
- Breeding opportunities
- Unique farming diversification
With proper care, hatching emu eggs can be both profitable and rewarding.
Final Thoughts
Learning how to hatch emu eggs successfully requires patience, precision, and consistency. From selecting high-quality eggs to maintaining the right incubation conditions, every step plays a critical role in your success.
If you’re a beginner, start small, monitor conditions closely, and gain experience with each batch. Over time, you’ll improve your hatch rates and confidence.
At Reichert’s Farmstead, we believe that success in farming starts with knowledge and proper care. With the right approach, you can turn emu egg hatching into a valuable and rewarding part of your livestock journey. 🥚🌾